FlyFysher
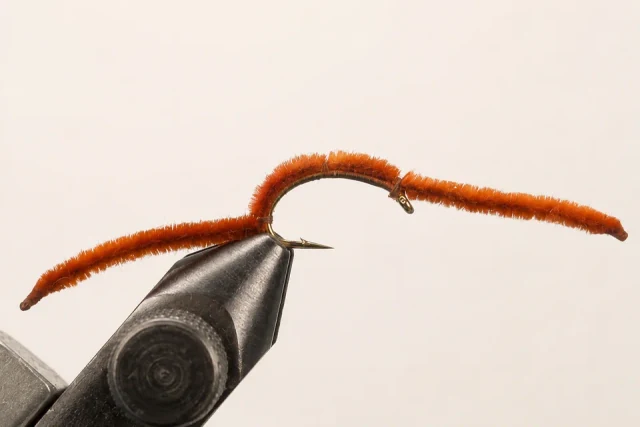
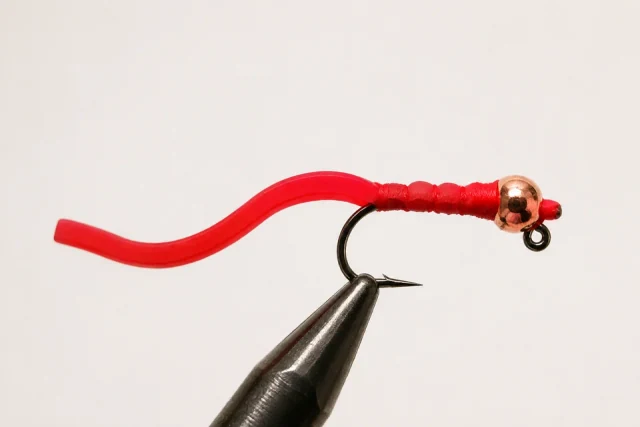
Squirmy Wormy
A soft silicone worm with movement during a natural drift.
- At the vise
- Beginner friendly
- Common sizes
- #8–12
At the vise.
Work through the numbered steps in order. Use the written materials and proportions as your guide; select an image for a closer look.
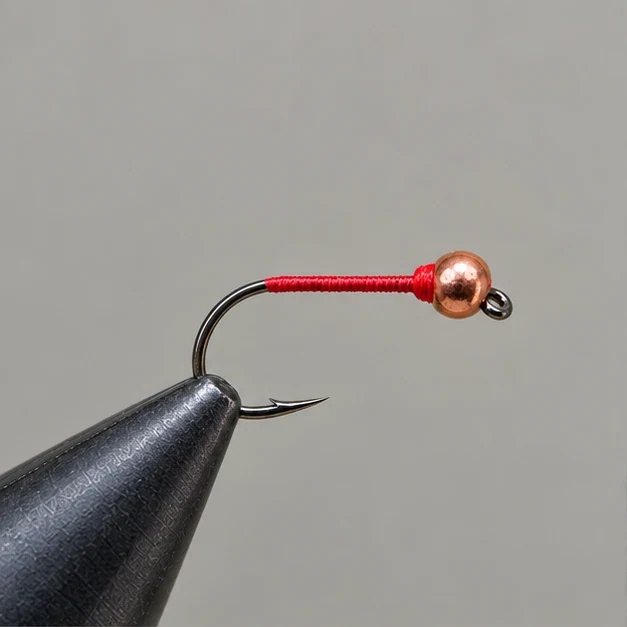
Bead and base
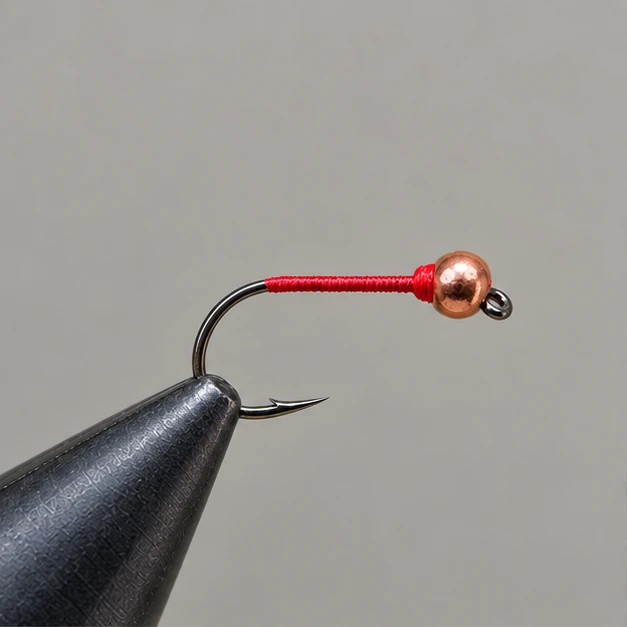
Fit the bead and cover the shank with thread, building a small support behind the bead.
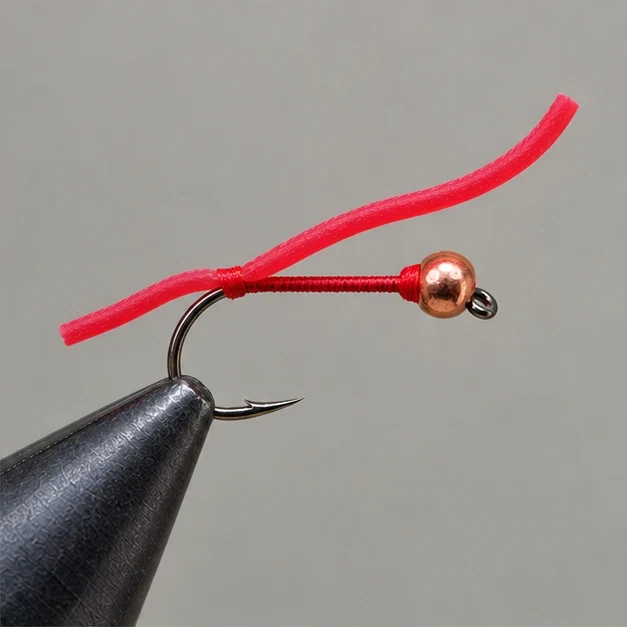
Rear tail
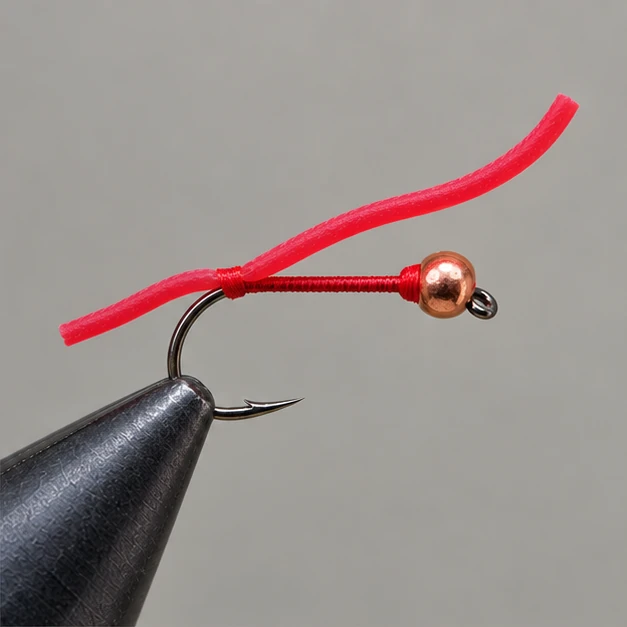
Pinch a worm strand against the thread base near the bend. Secure gently with broad, flat wraps; leave a shank-length rear tail.
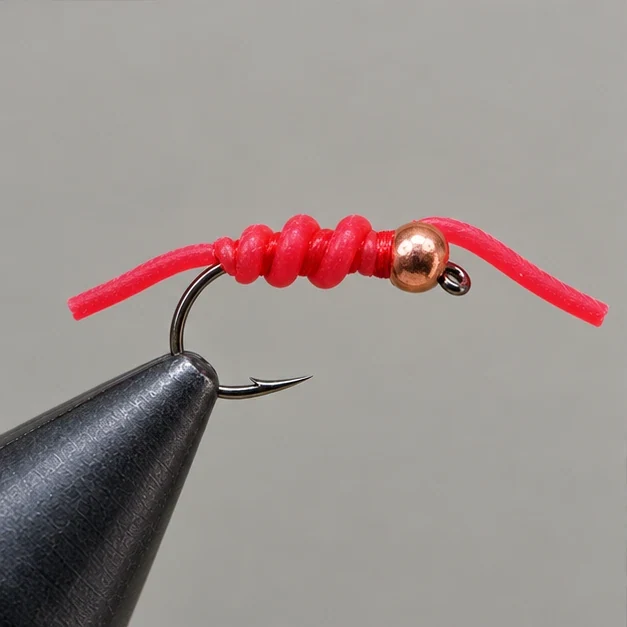
Body
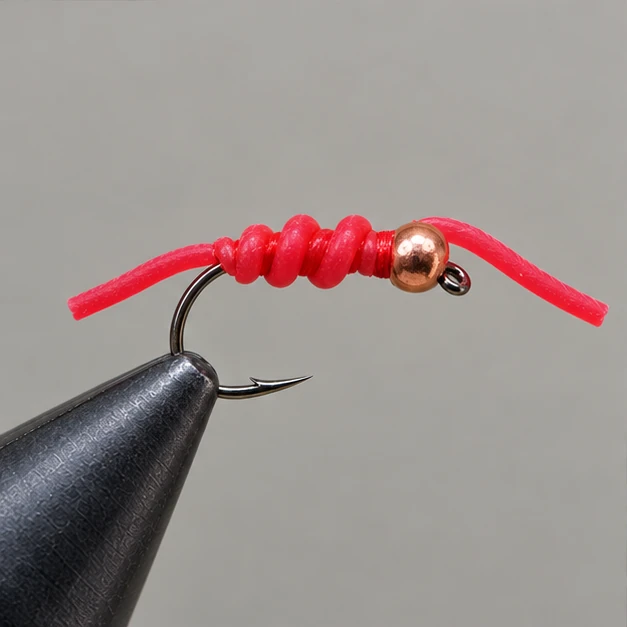
Wind the strand loosely toward the bead. Secure with light thread pressure, leaving the free end projecting forward.
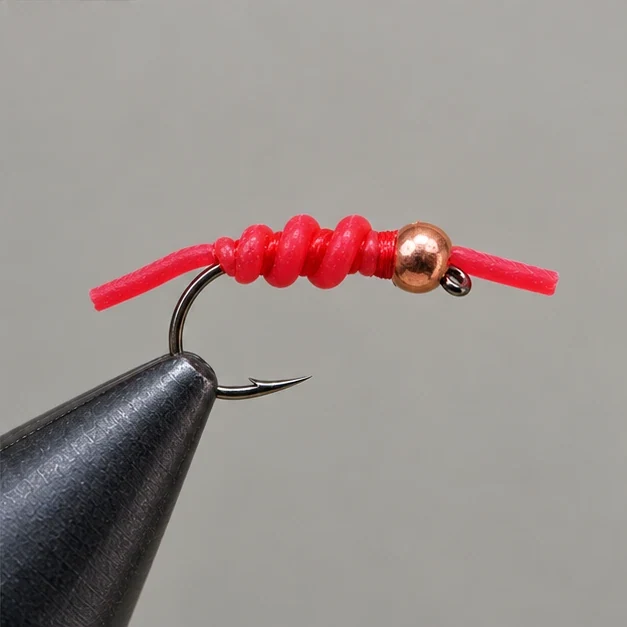
Finish
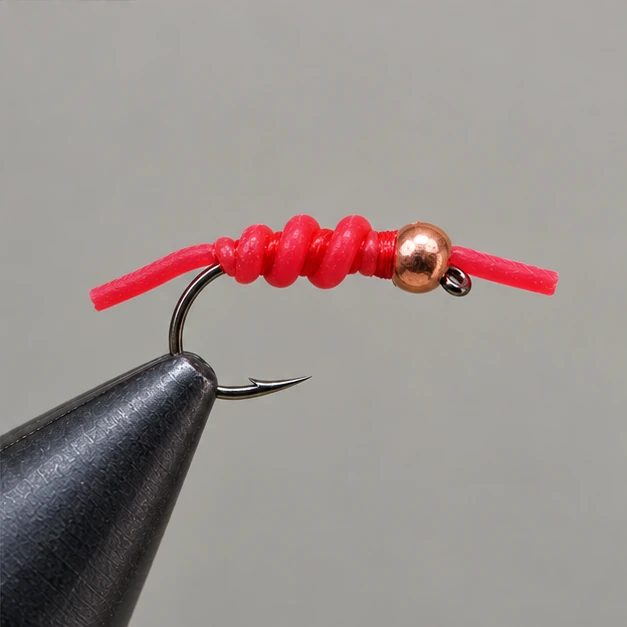
Whip finish on the thread collar without cutting into silicone. Trim the front end to about a shank length.
On the water.
Drift where aquatic worms are available; vary bead weight to reach the feeding level.
Find your Squirmy Wormy.
Have this pattern tied for your water.
No versions are listed yet. Choose a tyer and ask about your sizes, colors and materials. The tyer must confirm availability and send an offer.
Recipe references
Materials and tying methods may vary between versions. Compare the sources below for this dressing.
Portrait reference
Pattern dressings vary; use the written recipe for exact materials and proportions.