FlyFysher
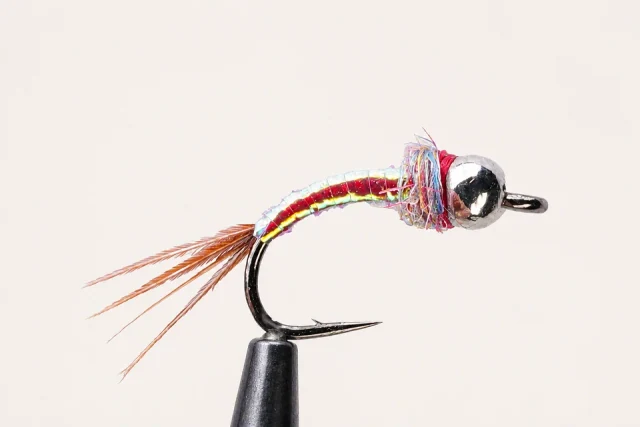
Rainbow Warrior
Pearl flash and a red head make a bright, compact attractor nymph.
- At the vise
- Beginner friendly
- Common sizes
- #12–22
At the vise.
Work through the numbered steps in order. Use the written materials and proportions as your guide; select an image for a closer look.
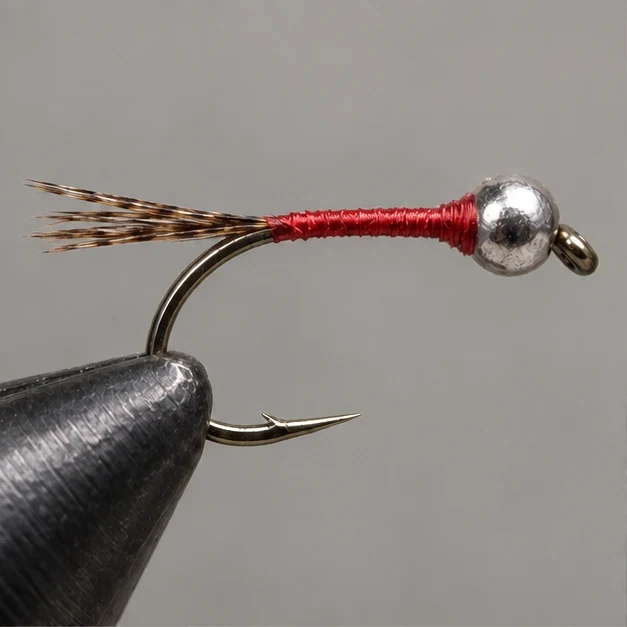
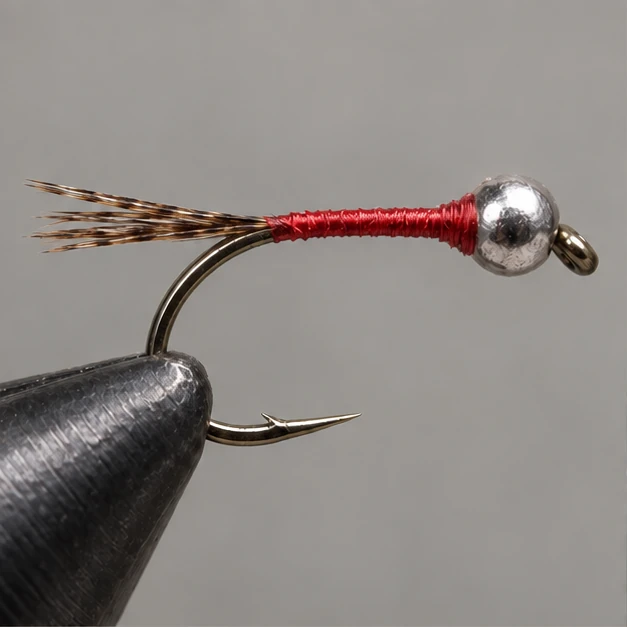
Bead and tail
Slide on the bead. Start thread behind it, then tie a short pheasant-fiber tail at the bend.
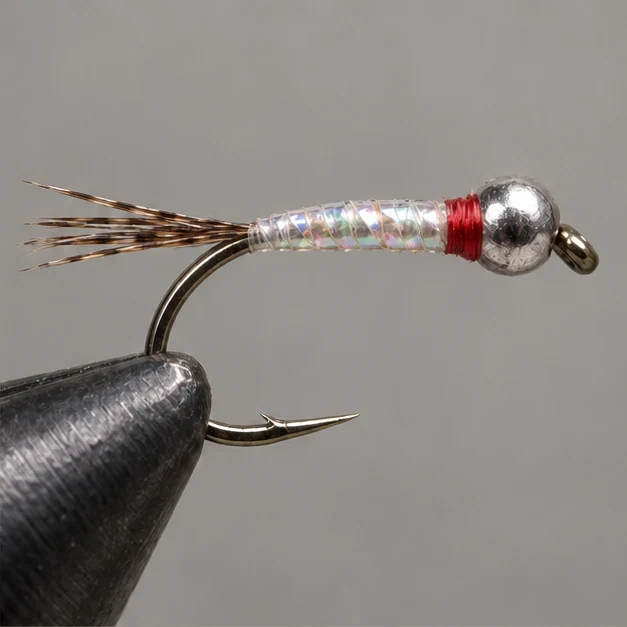
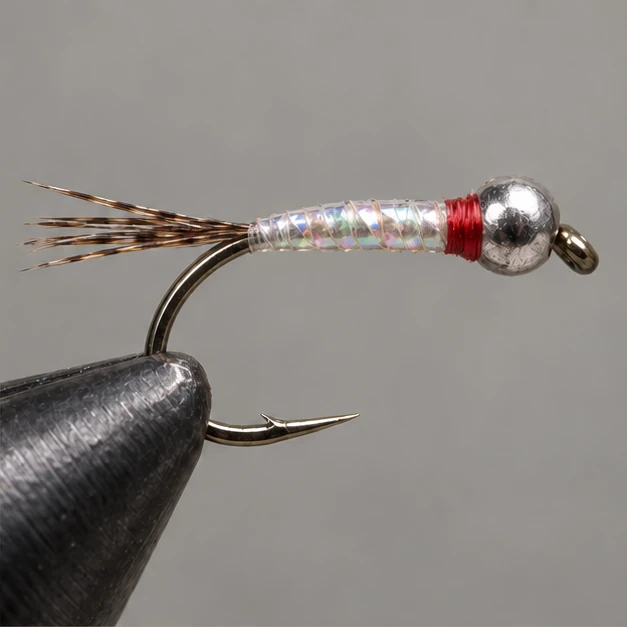
Flash body
Tie pearl flash at the rear. Build a smooth thread taper, wrap flash forward, and secure at the thorax.
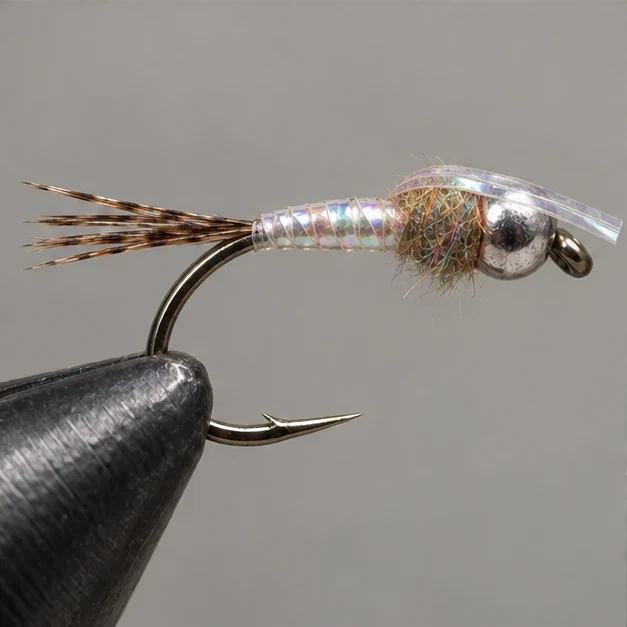
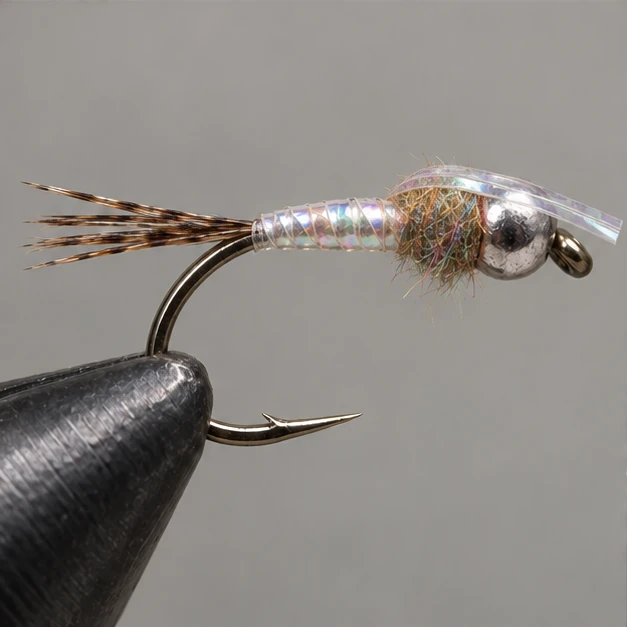
Thorax
Fold the remaining flash rearward. Dub a small thorax behind the bead, then pull flash over it as a wingcase.
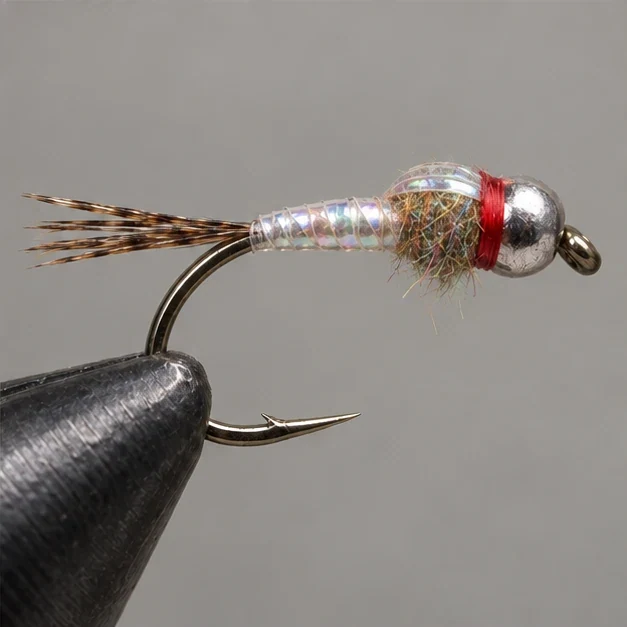
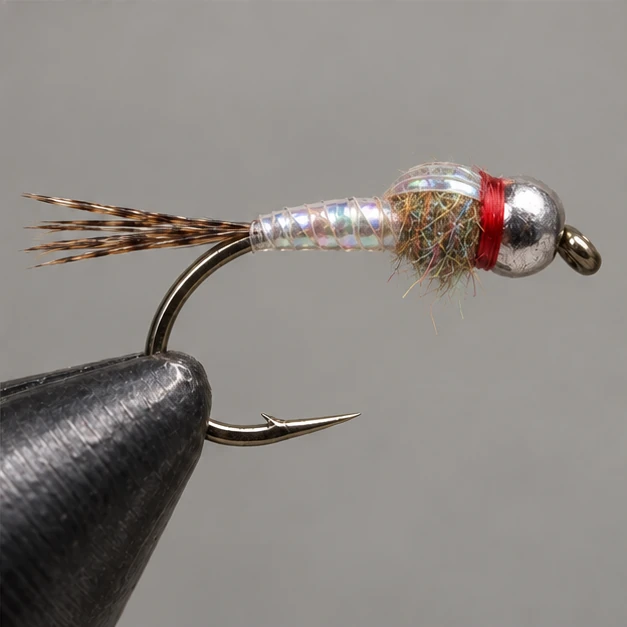
Hot spot
Secure and trim the flash. Make a slim red collar, whip finish, and cement the thread.
On the water.
Drift below an indicator or as the small fly in a two-fly nymph rig. Adjust bead weight to the current.
Find your Rainbow Warrior.
Have this pattern tied for your water.
No versions are listed yet. Choose a tyer and ask about your sizes, colors and materials. The tyer must confirm availability and send an offer.
Recipe references
Materials and tying methods may vary between versions. Compare the sources below for this dressing.
Portrait reference
Pattern dressings vary; use the written recipe for exact materials and proportions.