FlyFysher
Copper John
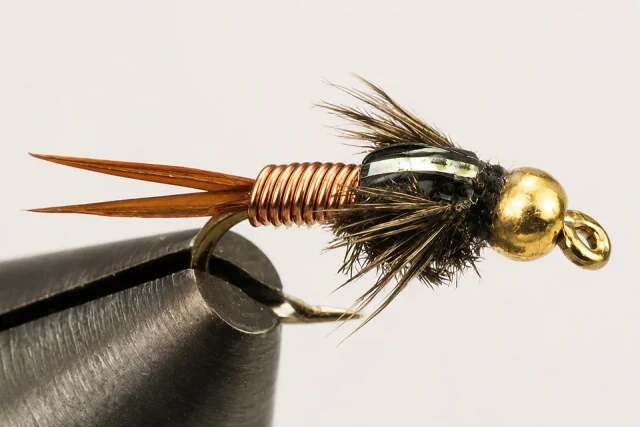
A dense wire abdomen, bead, and reflective wingcase make a useful sinking searching nymph.
- At the vise
- Intermediate
- Common sizes
- #10–20
At the vise.
Work through the numbered steps in order. Use the written materials and proportions as your guide; select an image for a closer look.
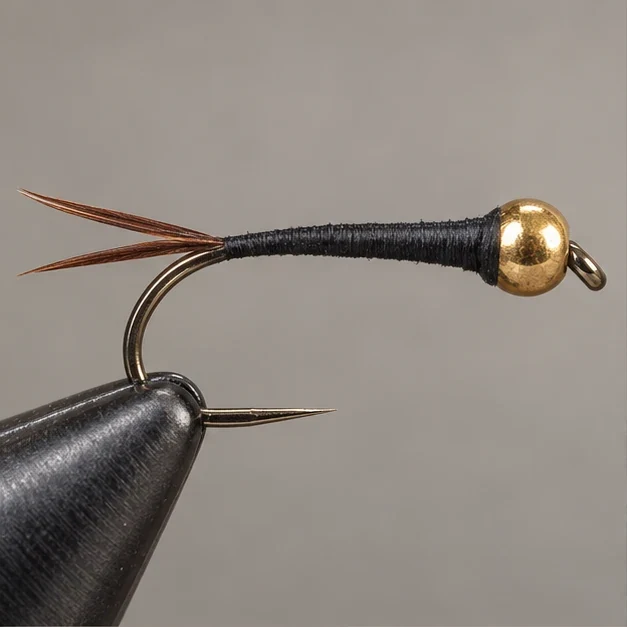
Tail and taper
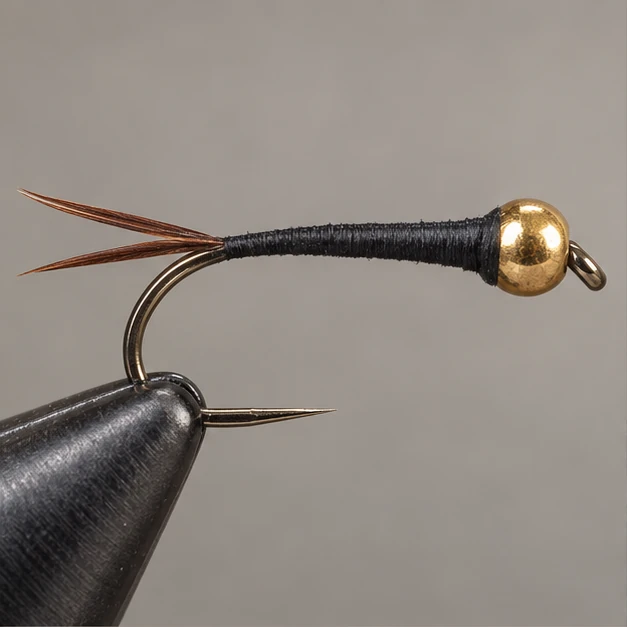
Fit the bead; cover the hook with thread. Tie two splayed biots at the bend and build a smooth tapered underbody.
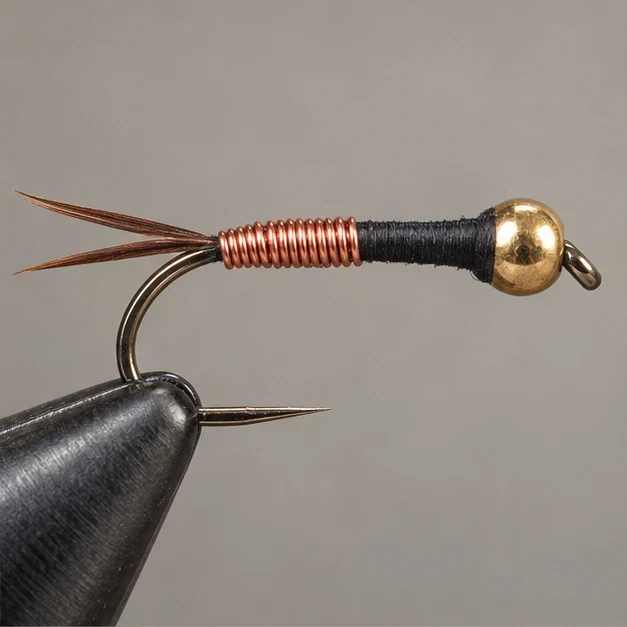
Wind the abdomen
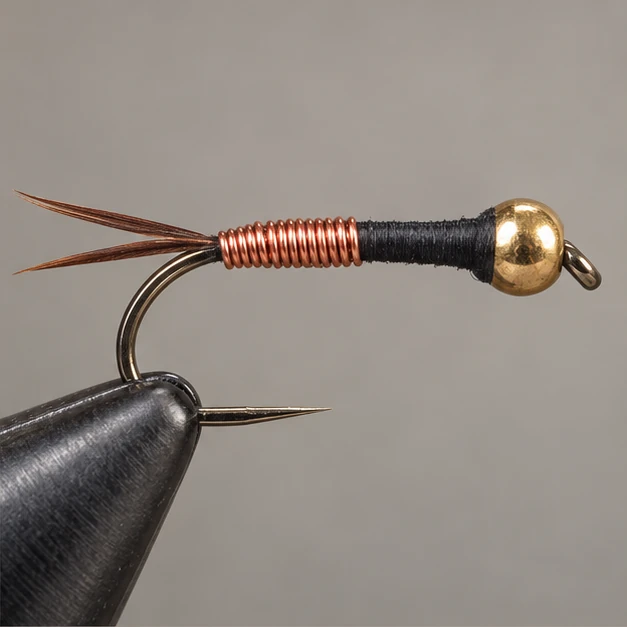
Tie in copper wire and wind touching turns over the rear two-thirds. Secure and remove excess.
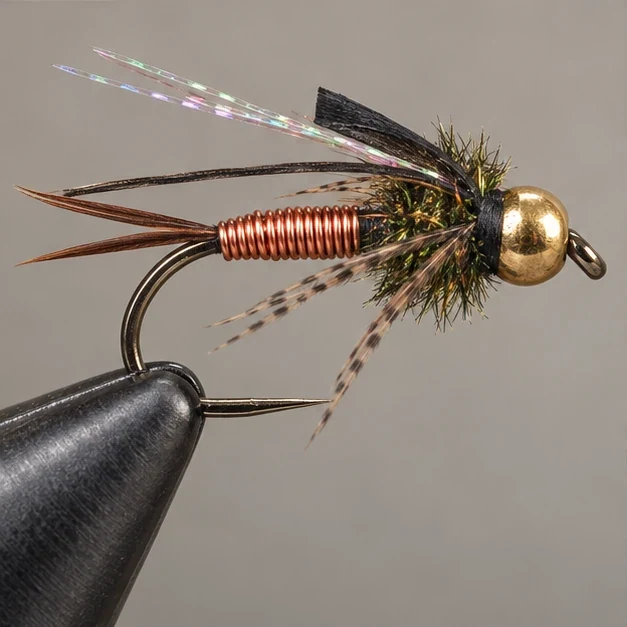
Dress the thorax
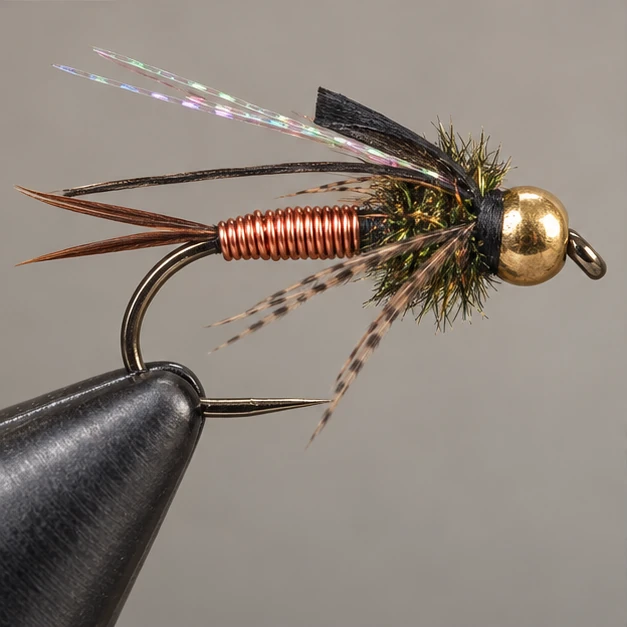
Attach Flashabou and Thin Skin facing back. Wind peacock herl behind the bead; set hen fibers on each side.
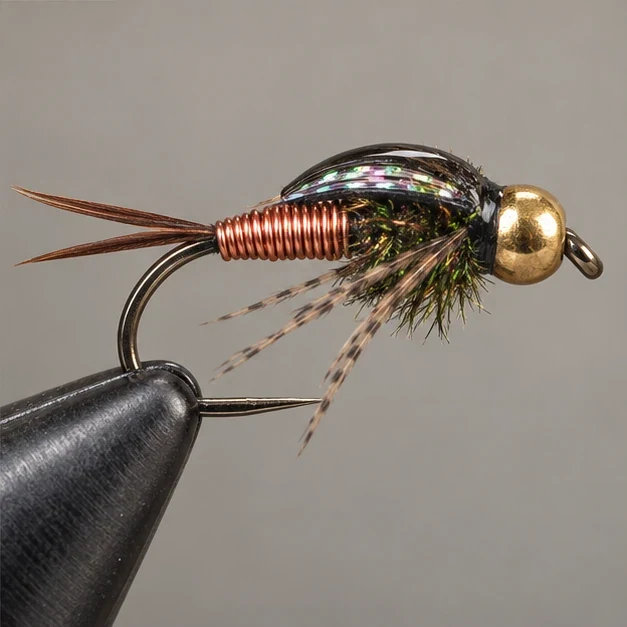
Close the wingcase
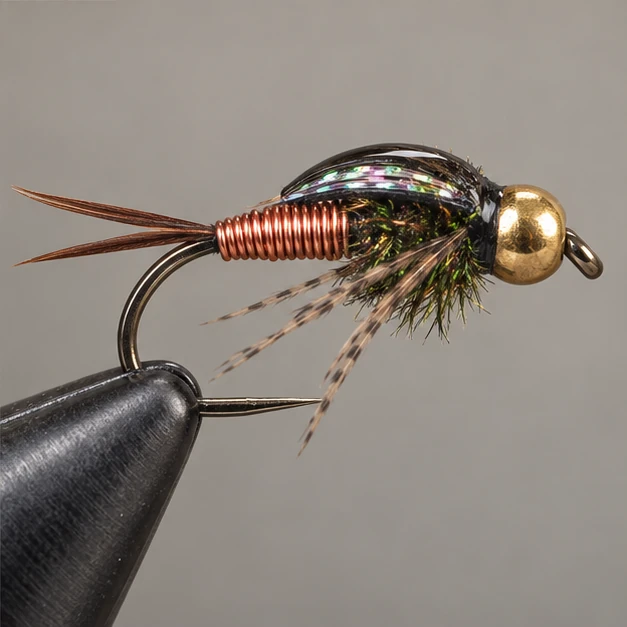
Pull Thin Skin forward, then Flashabou over it. Secure, trim, and whip finish. Coat the wingcase with resin and cure fully.
On the water.
Dead-drift in a nymph rig or below a sufficiently buoyant dry. Adjust weight and depth to the current.
Find your Copper John.
Have this pattern tied for your water.
No versions are listed yet. Choose a tyer and ask about your sizes, colors and materials. The tyer must confirm availability and send an offer.
Names and colors in the source index
Flys and Guides ↗ uses these labels for this fly. The recipe above describes the stated version; change materials where a colorway calls for it.
- Copper John – Red
- Beadhead “Mini” John
- Mini John
- Copper John
- Mini John – Black & Gold
- Copper John – Chartreuse
Recipe references
Materials and tying methods may vary between versions. Compare the sources below for this dressing.
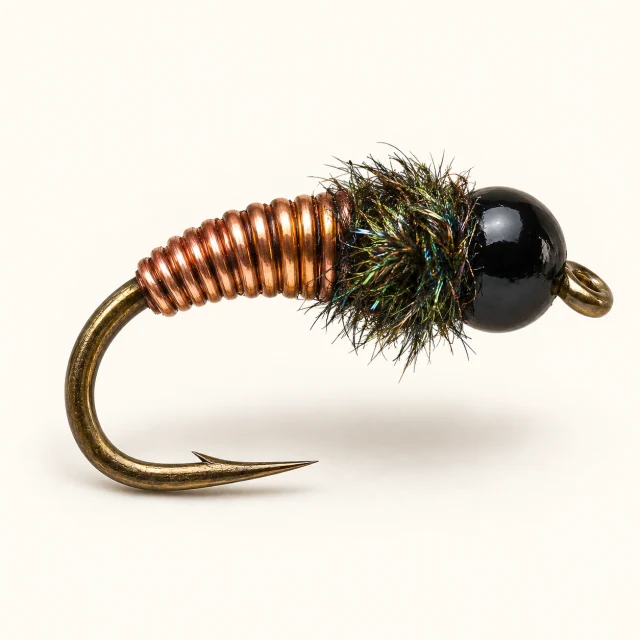
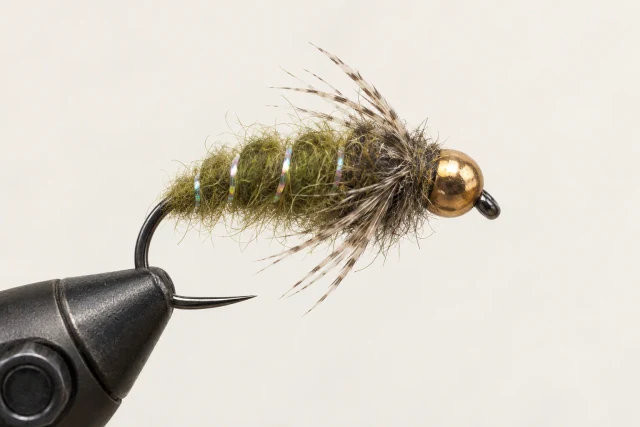
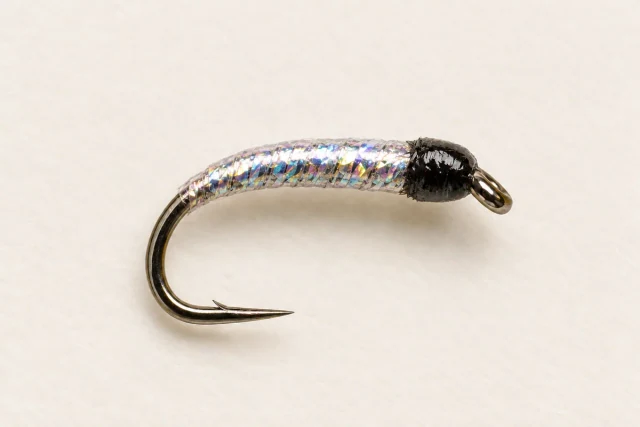
Portrait reference
Pattern dressings vary; use the written recipe for exact materials and proportions.