FlyFysher
Prince Nymph
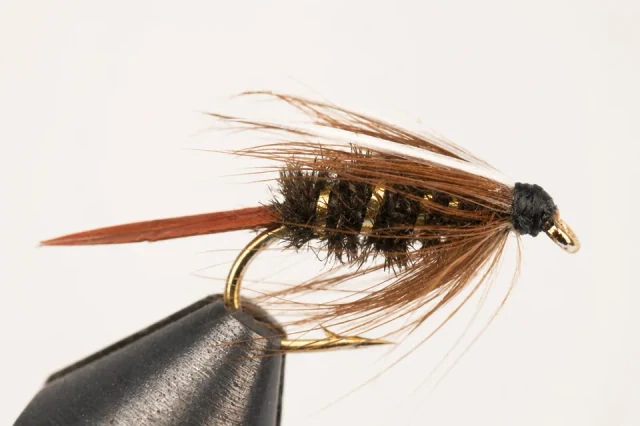
Peacock herl, a gold rib, and unmistakable white biot wings. A classic searching nymph.
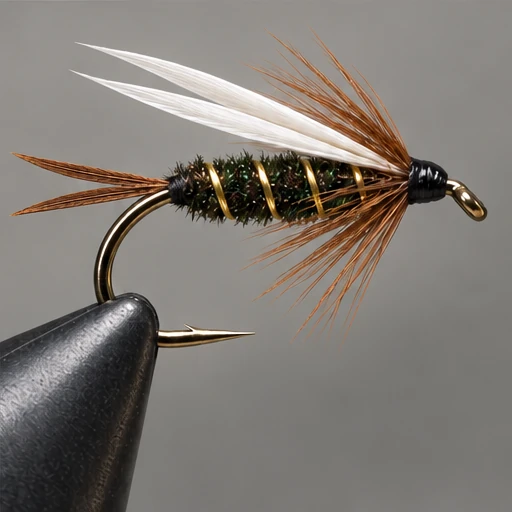
The Prince pairs a dark, full peacock body with a bright pair of white biots. The two brown tails and swept collar finish its distinctive profile. This recipe keeps the classic outline without a bead, so there is room to learn the biot placement and build a tidy thread head.
- At the vise
- Intermediate
- Common sizes
- #10–18
At the vise.
Work through the numbered steps in order. Use the written materials and proportions as your guide; select an image for a closer look.
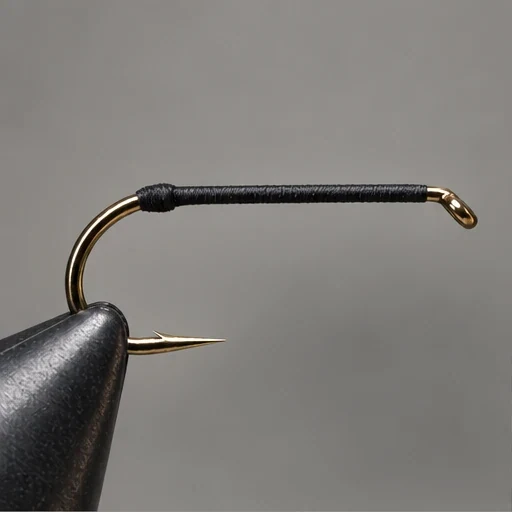
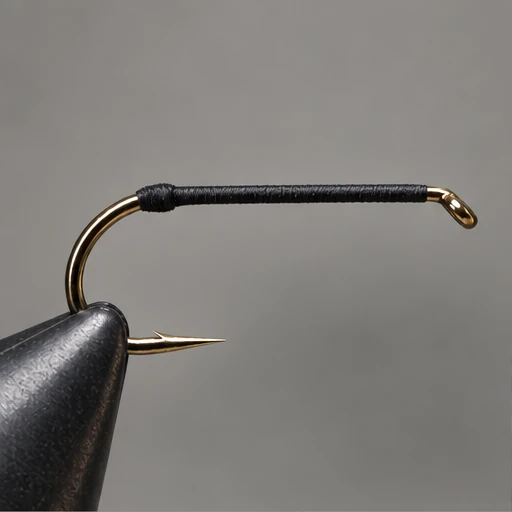
Start the foundation
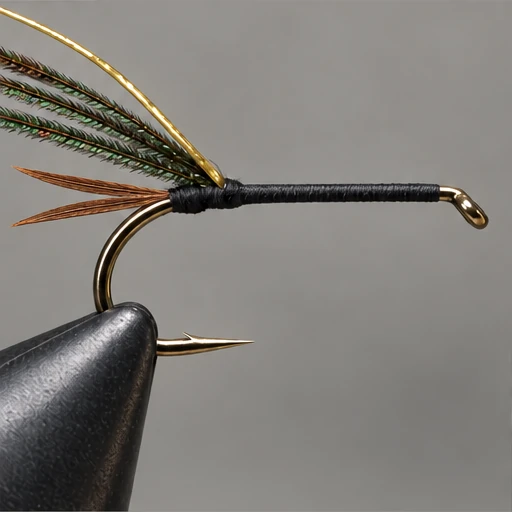
Secure the hook and start thread behind the eye. Wrap to the bend, then build a tiny thread bump to help separate the tail.
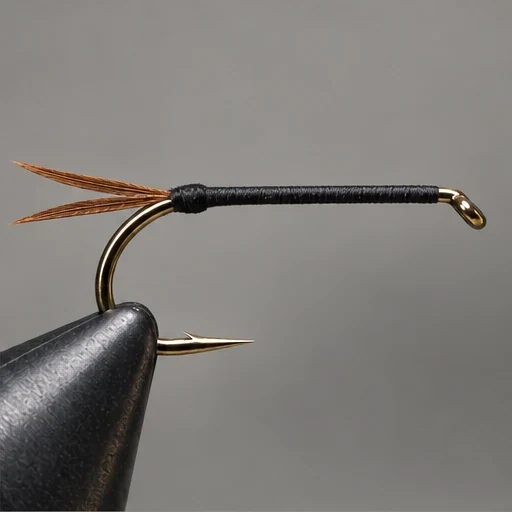
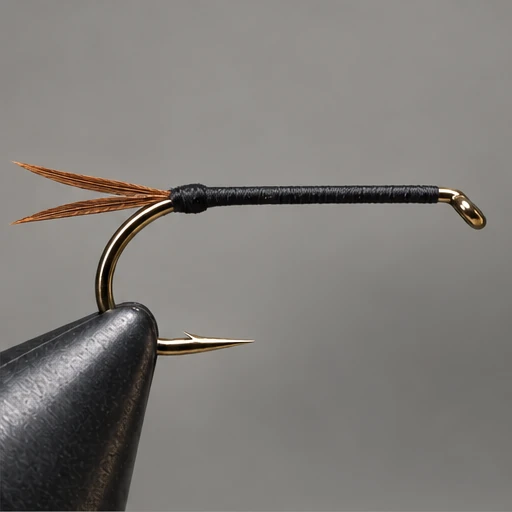
Split the brown tail
Mount one brown biot on each side of the bump, with natural curves pointing outward. Keep their tips even, about half a shank long. Secure and cover the trimmed butts.
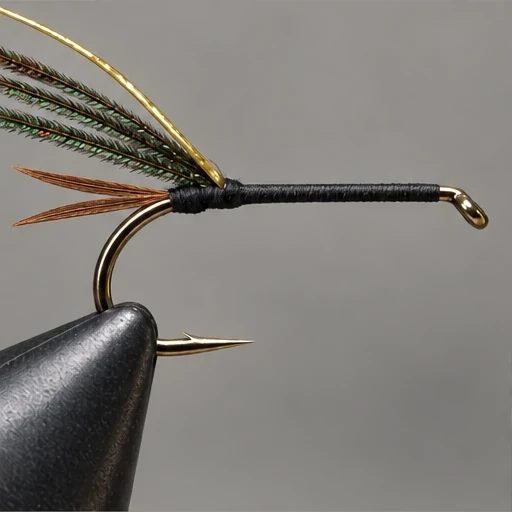
Attach rib and herl
Secure gold tinsel along the shank to the tail base. Remove brittle tips from three or four peacock strands and tie them in at the same point.
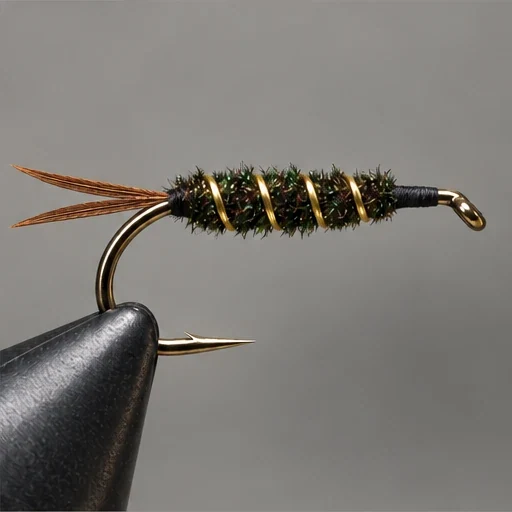
Wind and rib the body
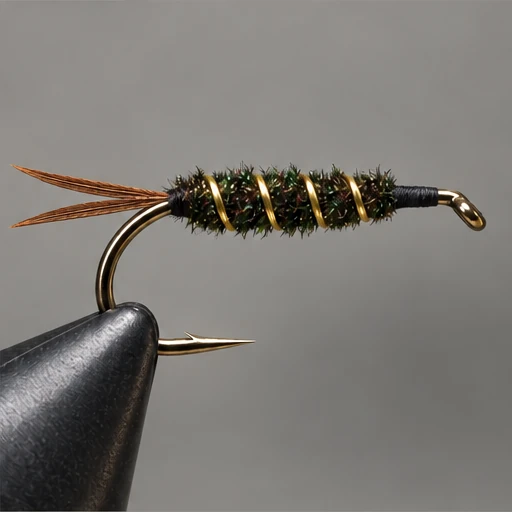
Twist herl gently around the thread for support, then wind a tapered body. Leave room for collar and head. Counter-wrap gold tinsel in four or five open turns; secure and remove the surplus.
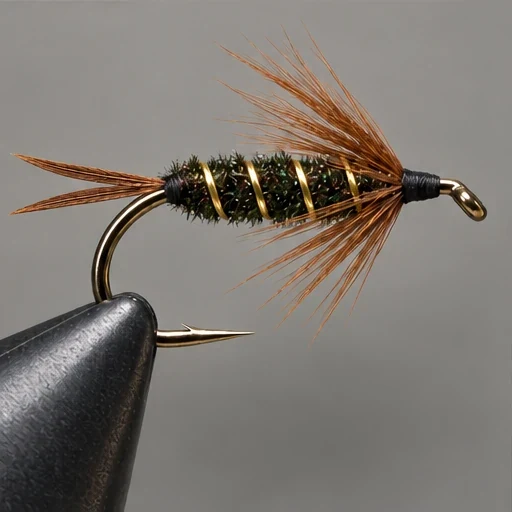
Wrap the brown collar
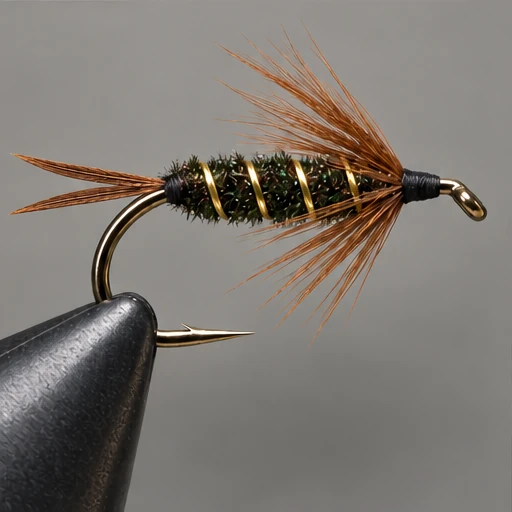
Tie in a brown hen feather with fibers about one-and-a-half hook gaps long. Make one or two turns, secure and trim. Stroke the fibers back to create a sparse swept collar.
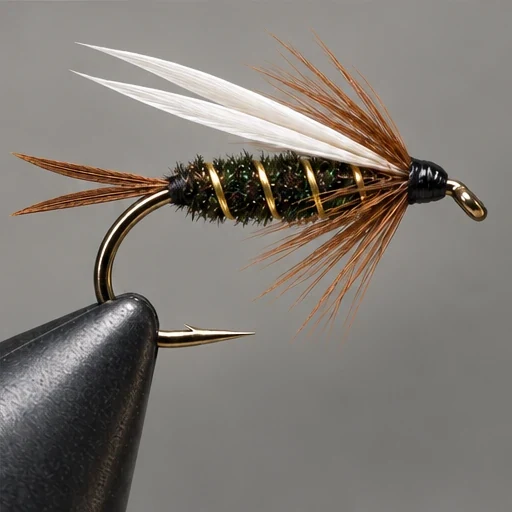
Set the white wings
Attach white biots on top, pointing back in a shallow V, with tips reaching the body’s rear. Secure both bases, trim excess, then whip finish a small thread head and cement.
On the water.
Fish it below the surface as a searching nymph. Adjust your rig to reach the depth of the fish; this unweighted version will not sink like a tungsten-beaded fly. A natural drift is a useful starting point, and the soft collar can add movement as the fly swings.
Find your Prince Nymph.
Have this pattern tied for your water.
No versions are listed yet. Choose a tyer and ask about your sizes, colors and materials. The tyer must confirm availability and send an offer.
Names and colors in the source index
Flys and Guides ↗ uses these labels for this fly. The recipe above describes the stated version; change materials where a colorway calls for it.
- Bead Head Prince Nymph
- Bead Head Prince
- Prince
- Gold Bead Head Prince
- Beadhead Prince Nymph, Lite Bright
- Red Butt Prince Nymph
Recipe references
Materials and tying methods may vary between versions. Compare the sources below for this dressing.
Portrait reference
Pattern dressings vary; use the written recipe for exact materials and proportions.