FlyFysher
Pheasant Tail
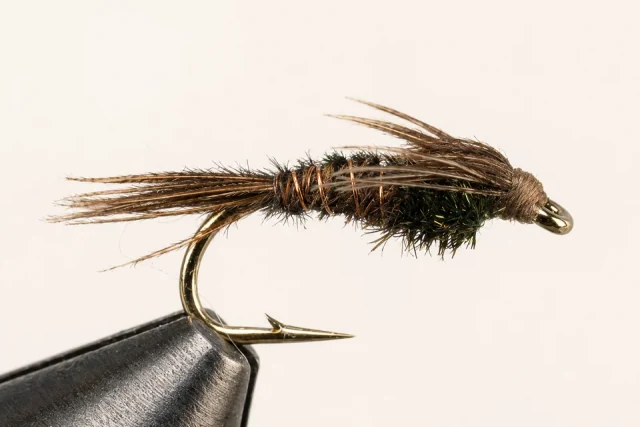
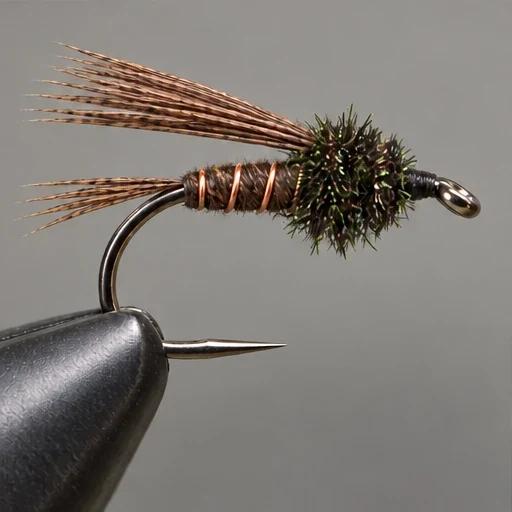
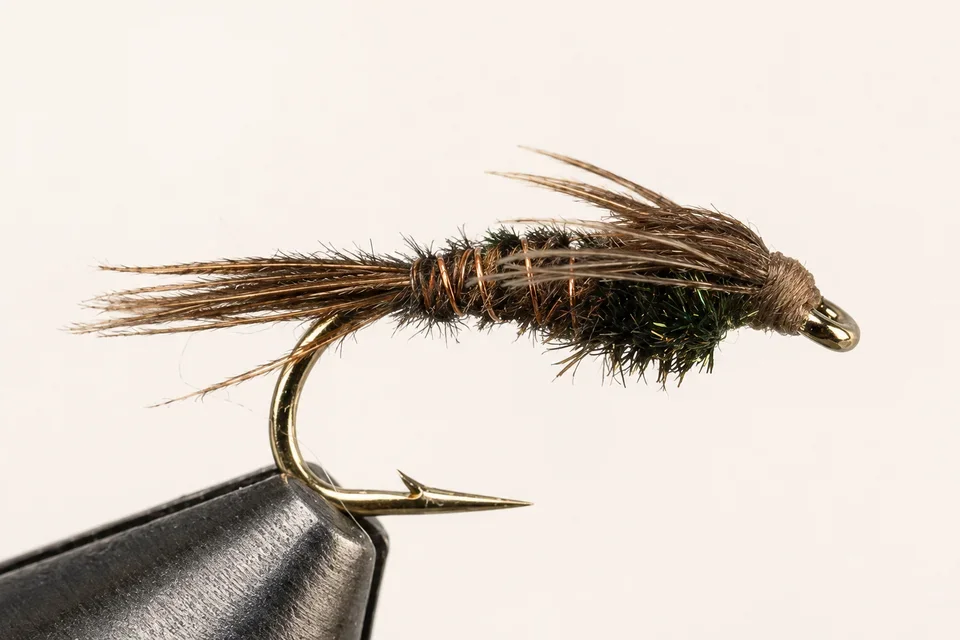
A slim, copper-ribbed mayfly profile, finished here with a peacock thorax and fiber legs.
Pheasant tail fibers make a slender, segmented body with very little bulk. This is the American-style version with a peacock thorax, a folded wingcase, and separate legs. It differs from Frank Sawyer’s original copper-and-pheasant construction, so the variation is part of the recipe rather than an interchangeable detail.
- At the vise
- Intermediate
- Common sizes
- #12–20
At the vise.
Work through the numbered steps in order. Use the written materials and proportions as your guide; select an image for a closer look.
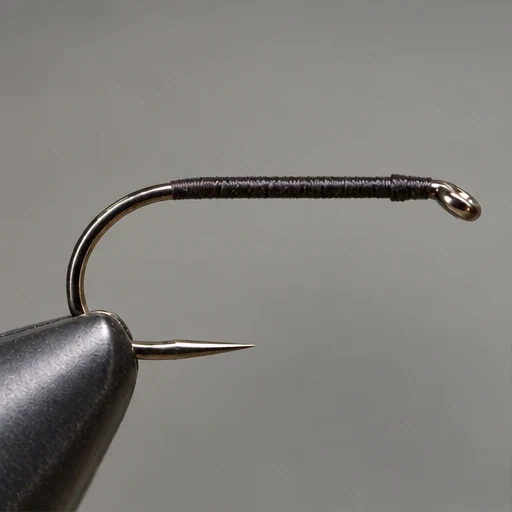
Start the thread
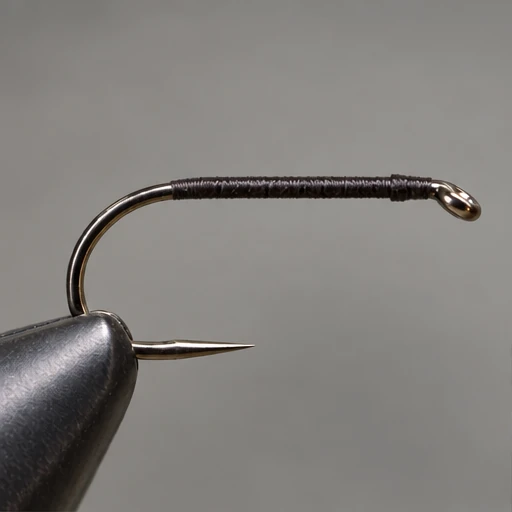
Clamp the hook level. Start dark thread one eye-length behind the eye and lay a smooth foundation toward the bend.
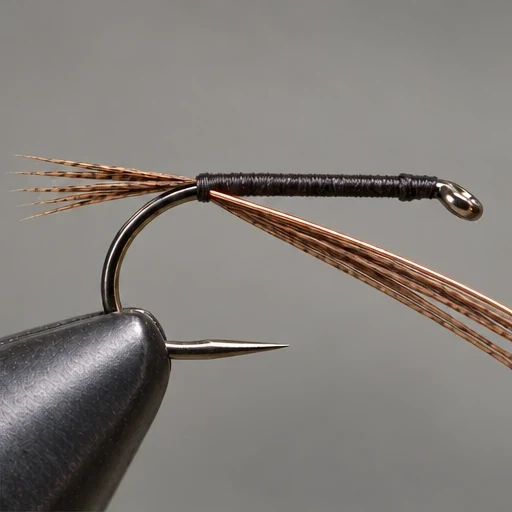
Attach copper and tail
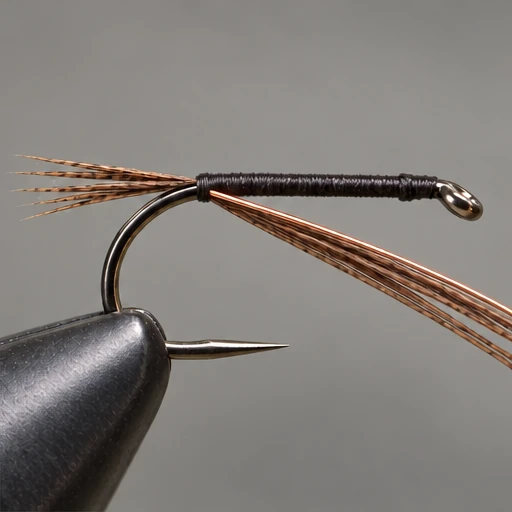
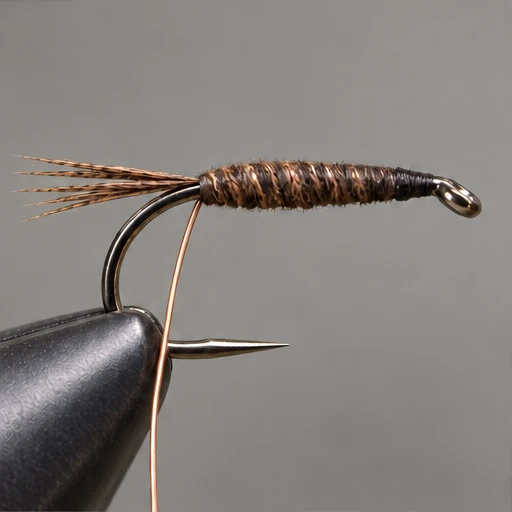
Bind copper wire down to the bend. Tie in aligned pheasant fibers so their tips form a tail about three-quarters of a shank long. Keep the long butt ends for the abdomen.
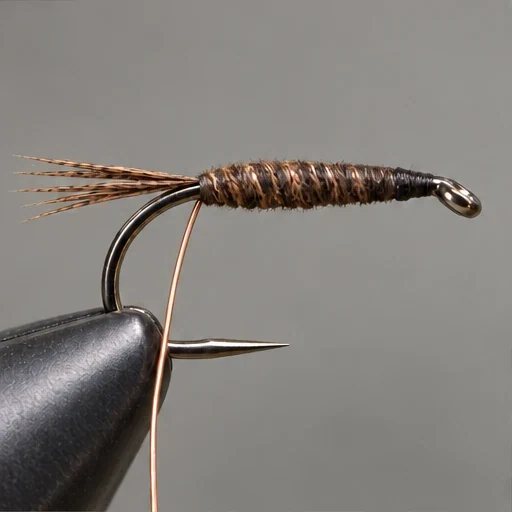
Wrap the slim abdomen
Wind the pheasant-fiber butts forward in touching turns to cover roughly the rear two-thirds of the shank. Tie off and trim, keeping the body slim.
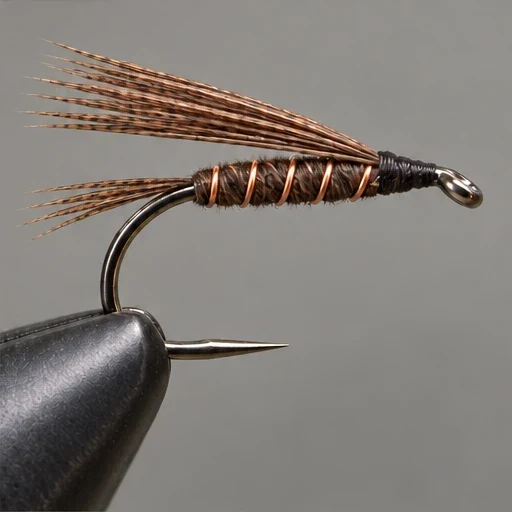
Rib and prepare wingcase
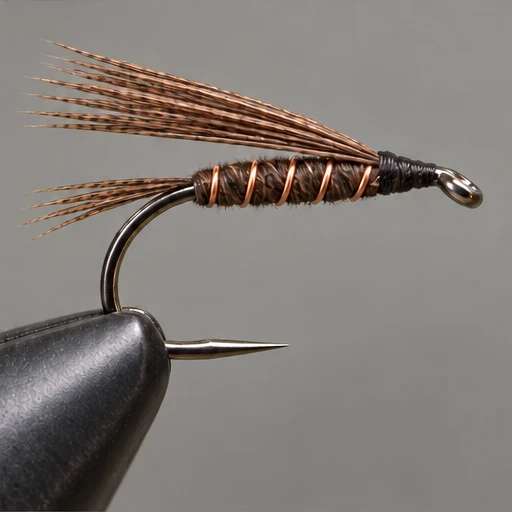
Counter-wrap copper in open spirals and secure it at the abdomen front. Tie a fresh pheasant bundle on top with tips facing rearward; allow enough length to fold over the thorax and back as legs.
Build the peacock thorax
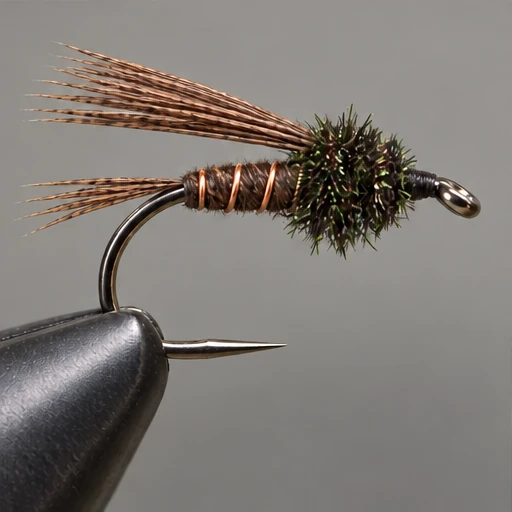
Attach two peacock herls at the wingcase base. Wind them forward into a fuller thorax, leaving a small head space. Secure and trim the herl.
Close the wingcase
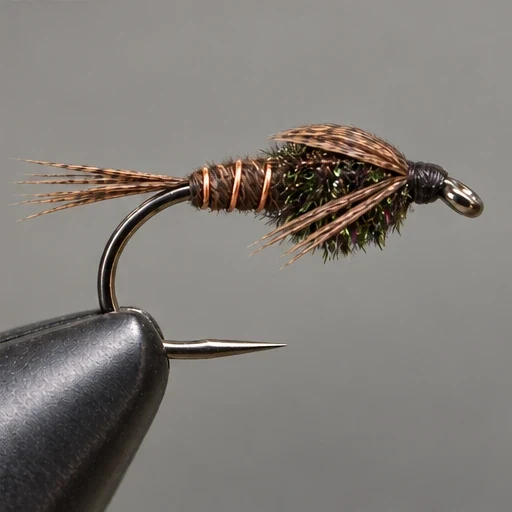
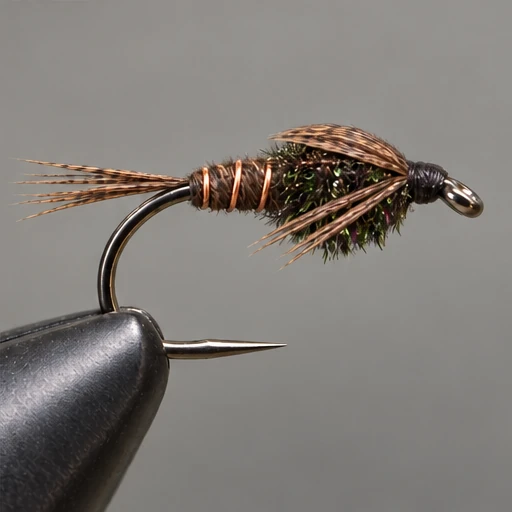
Pull the pheasant bundle forward over the thorax and secure behind the eye. Divide the projecting tips, fold them backward along both sides, and bind in place. Adjust legs to about thorax length; whip finish and cement.
On the water.
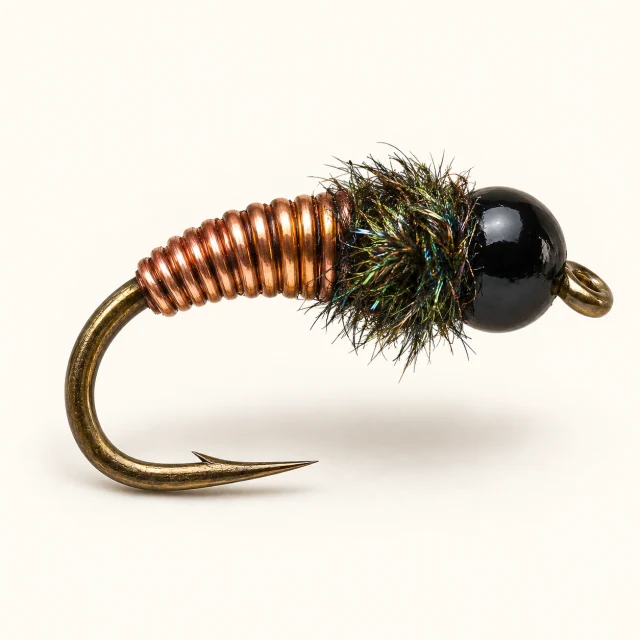
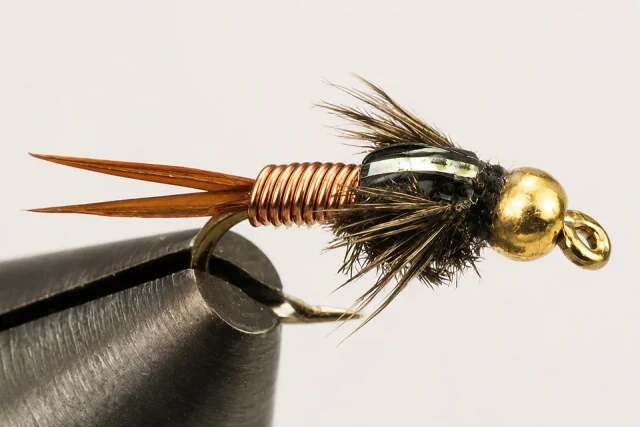
Use its slim profile when trout are feeding on small mayfly nymphs. Choose size and depth to suit the water, and keep the drift controlled. This recipe has no bead or added underbody weight; a weighted variation changes both the sink rate and how the fly fits into your rig.
Find your Pheasant Tail.
These tyers list flies based on this pattern. Check each listing for its exact materials, weight, and variations.
 Nymphs
Need a different size, color or dressing? Send a tyer a brief with this pattern as the starting point.
Request a custom versionNames and colors in the source index
Flys and Guides ↗ uses these labels for this fly. The recipe above describes the stated version; change materials where a colorway calls for it.
- Bead Head “micro” Pheasant Tail
- Bead Head Pheasant Tail
- Pheasant Tail
- Bead Head Flashback Pheasant Tail
- Flashback Pheasant Tail
Recipe references
Materials and tying methods may vary between versions. Compare the sources below for this dressing.
- Orvis / Tightline — American Pheasant Tail Nymph
- Charlie Craven — Pheasant Tail Nymph
- Orvis / Dave Brown — Pheasant Tail origins and American variation
Portrait reference
Pattern dressings vary; use the written recipe for exact materials and proportions.