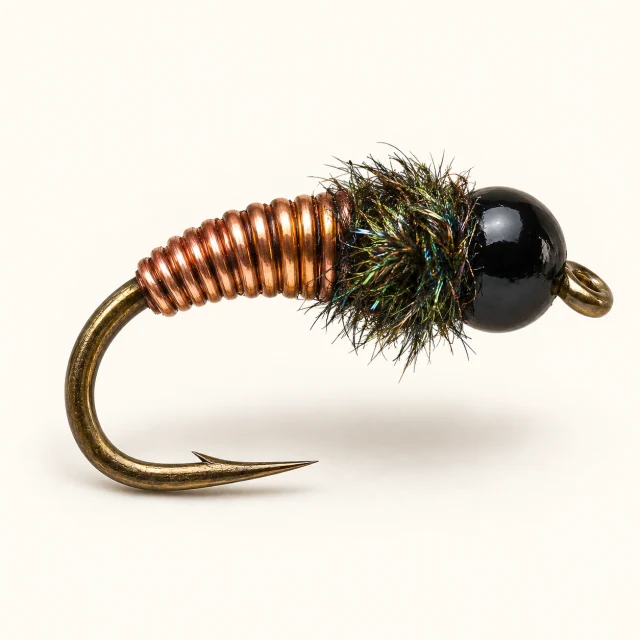
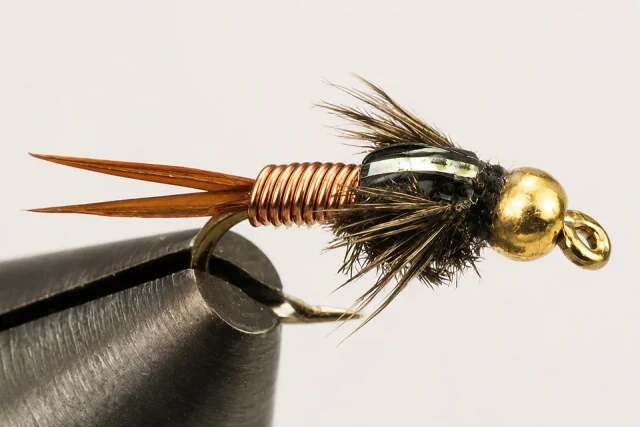
A bead, pearlescent abdomen, copper rib and peacock thorax make a bright searching nymph.
Larry Graham’s Lightning Bug is a bright nymph built around a reflective abdomen. This starting dressing retains the copper wire rib, peacock thorax, pearl wingcase and sparse side legs.
Work through the numbered steps in order, using the materials list and written proportions as your guide.
01
Seat the bead and tail
Slide a gold bead to the hook eye and start black thread behind it. Bind four to six pheasant-tail fibers at the rear with their tips extending about one shank length.
Bench note Keep the tail sparse and aligned with the hook.
02
Attach body materials
Tie small copper wire along the shank back to the tail base. Secure the pearlescent Mylar at the same rear point, then bring the thread forward to leave a short thorax space behind the bead.
Bench note Smooth tie-ins help the reflective body wrap evenly.
03
Wrap and rib the abdomen
Wind the Mylar forward in close overlapping turns and tie it off before the thorax space. Counter-wrap the copper wire in five or six open turns; secure and remove the excess.
Bench note The wire should cross the Mylar rather than disappearing beneath it.
04
Add wingcase and thorax
Tie a strip of wide pearl tinsel at the front of the abdomen with its free length pointing rearward. Attach peacock herl and wrap a compact thorax toward the bead, then secure the herl.
Bench note Leave enough space behind the bead for legs and the wingcase tie-off.
05
Set the side legs
Bind a small group of brown hen-back fibers on each side of the thorax, tips angled rearward. Check that the legs remain visible without hiding the peacock or body.
Bench note Short, sparse fibers suit this smaller nymph.
06
Close the wingcase
Pull the pearl tinsel forward over the thorax and secure it behind the bead. Fold the waste end back under a couple of thread wraps, trim it, whip finish, and clear the hook eye.
Bench note Center the reflective strip before the final wraps.
Beyond the bench
On the water.
Fish it as a subsurface searching nymph for trout. The bead adds some weight, but the drift and added rig weight should be adjusted to the water rather than assuming one fly reaches every depth.