FlyFysher
Hare’s Ear
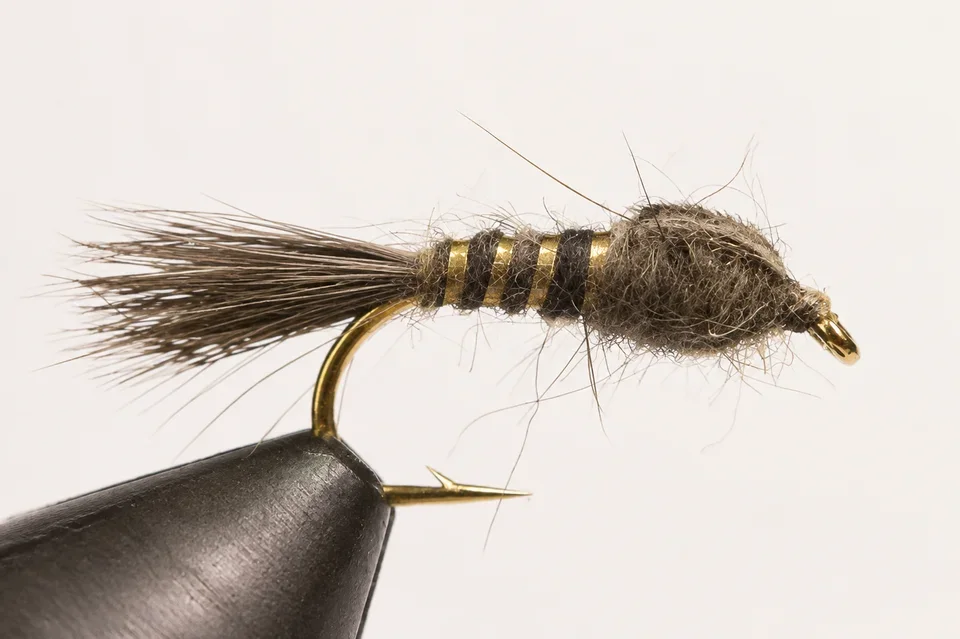
A shaggy, natural nymph with a gold rib and mottled wingcase. Let the guard hairs do the work.
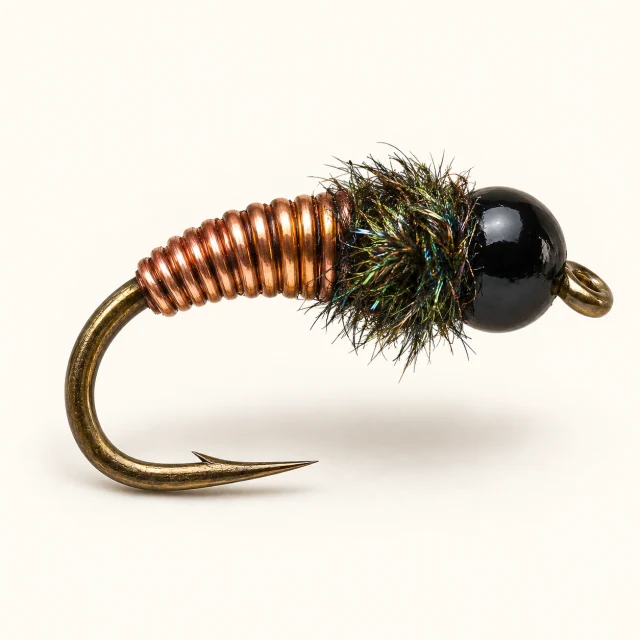
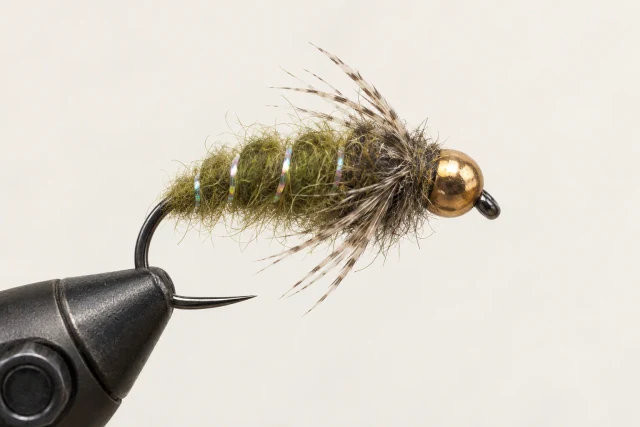
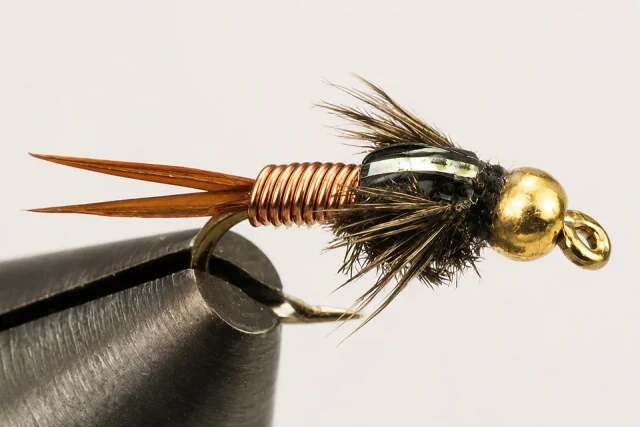
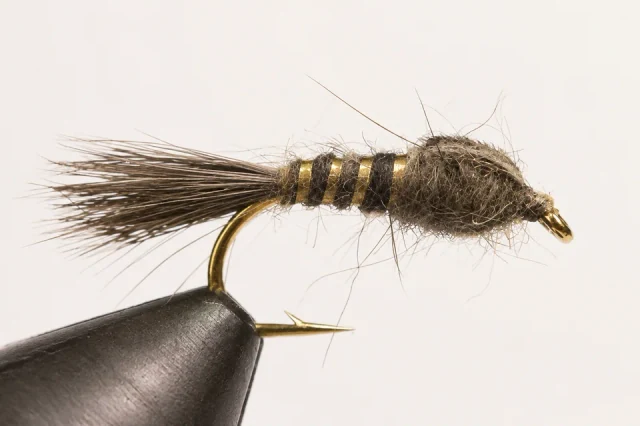
The Hare’s Ear gets much of its character from the mix of soft underfur and stiffer guard hairs. A tapered abdomen, a fuller thorax, and a mottled wingcase suggest a range of aquatic insects. The finish should look a little untidy, but the underlying shape still matters.
- At the vise
- Beginner friendly
- Common sizes
- #10–18
At the vise.
Work through the numbered steps in order. Use the written materials and proportions as your guide; select an image for a closer look.
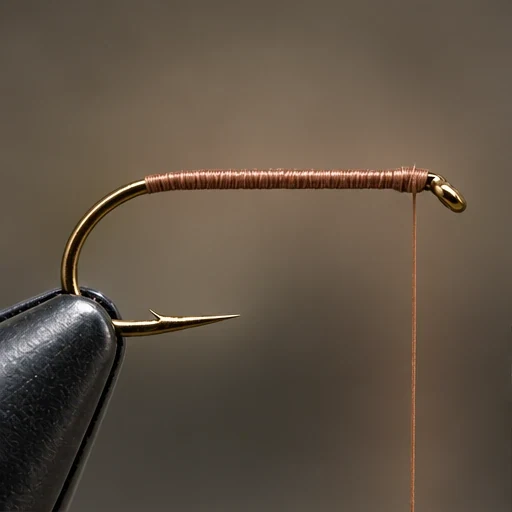
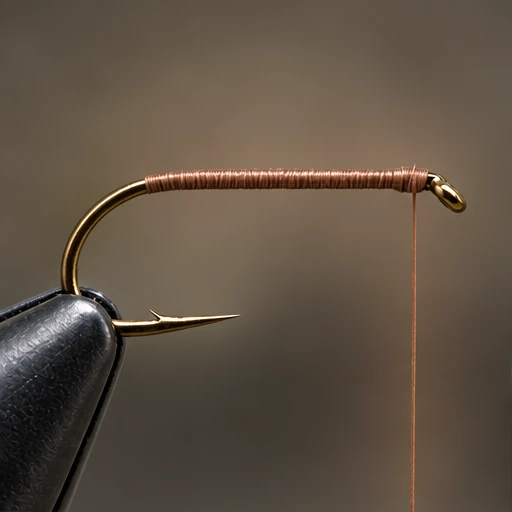
Lay the foundation
Clamp the hook level. Start thread behind the eye and wrap an even base to the bend, preserving room for a small head.
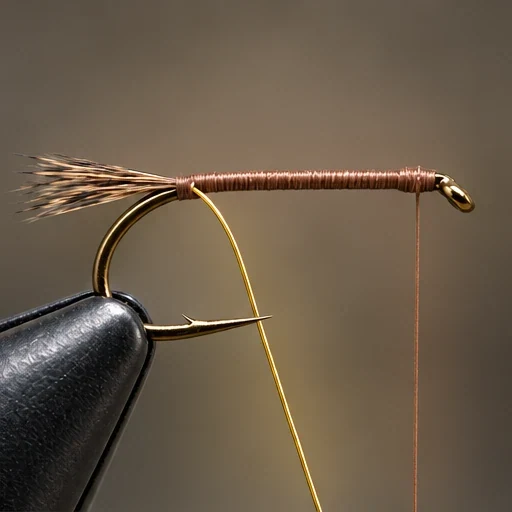
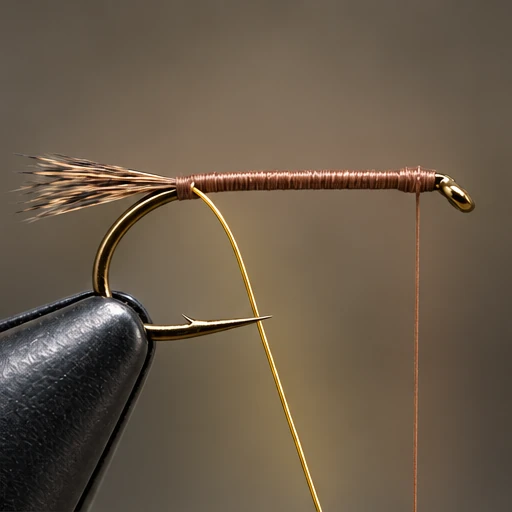
Tie tail and gold rib
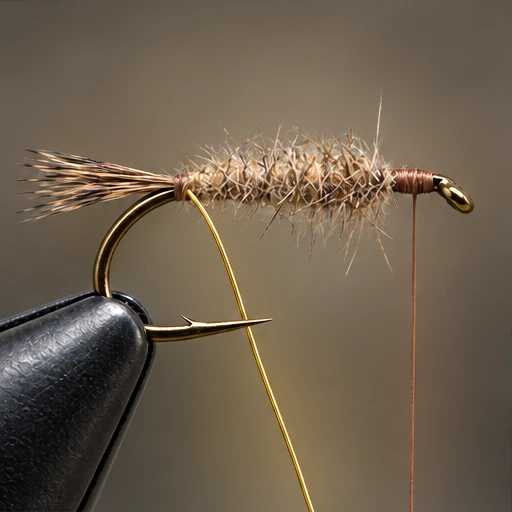
Secure a small guard-hair tail on top, about two-thirds of a shank long. Trim and bind down the butts. Tie gold wire along the shank to the tail base.
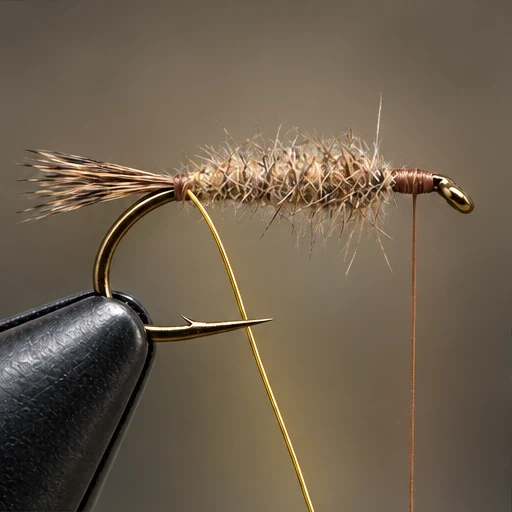
Dub the abdomen
Twist a tiny pinch of dubbing onto the thread. Wind a slender abdomen that gradually widens forward and occupies the rear two-thirds of the shank. Add fur sparingly.
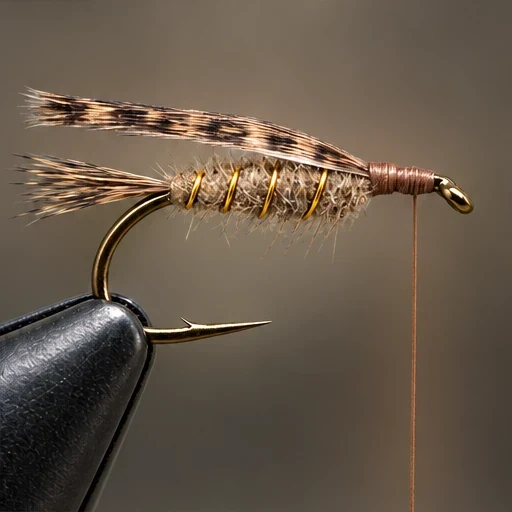
Rib and attach wingcase
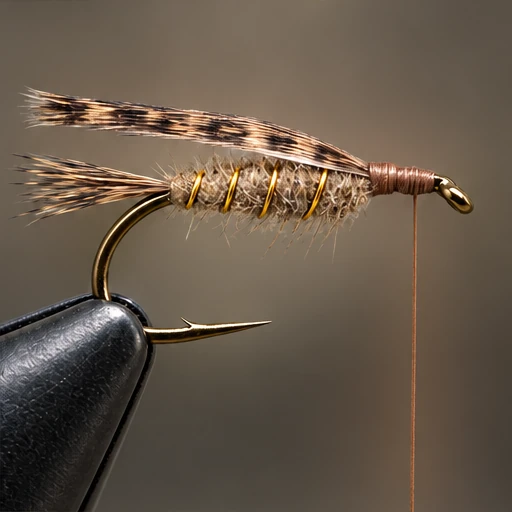
Counter-wrap wire in four or five evenly spaced turns and tie it off. At the abdomen front, attach a flat turkey slip pointing rearward, wide enough to cover the finished thorax.
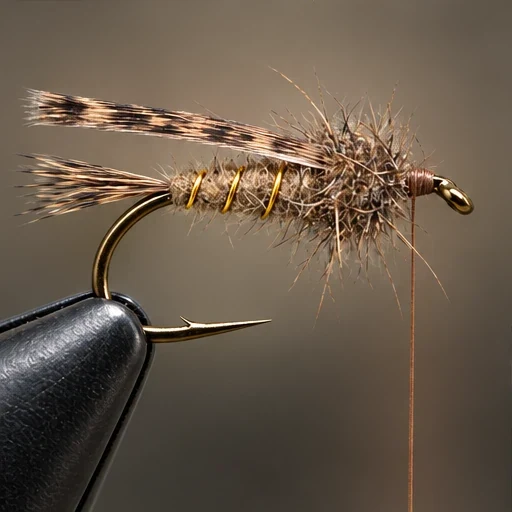
Dub a fuller thorax
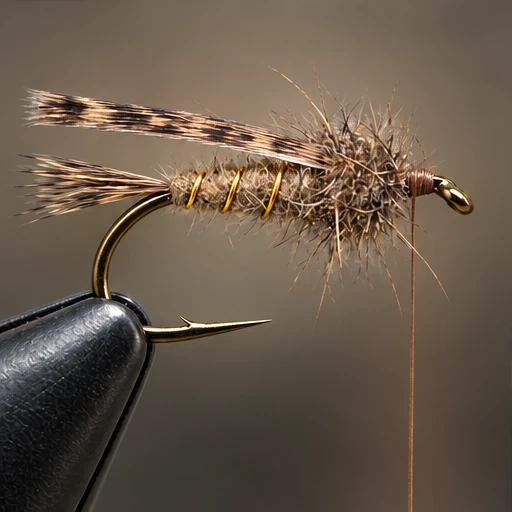
Use slightly darker, spikier dubbing to fill the front third with a rounder thorax. Overlap the wingcase’s tie-in point so no bare gap remains. Stop short of the eye.
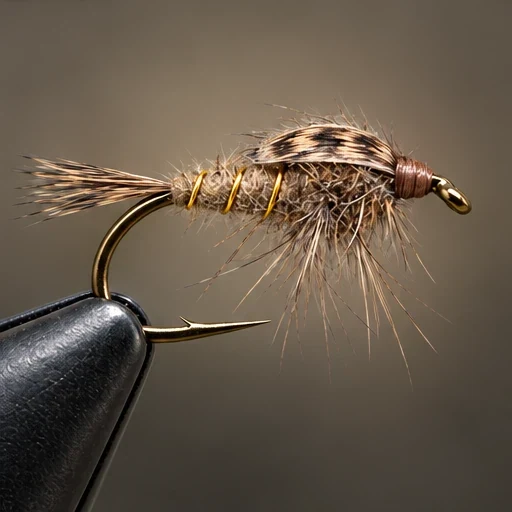
Fold, finish and tease
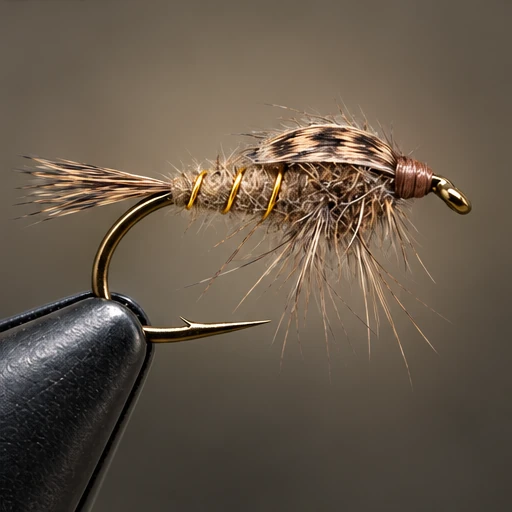
Draw turkey over the thorax and secure behind the eye. Trim, whip finish and cement. Gently tease a few guard hairs from the sides and underside for legs, leaving the wingcase intact.
On the water.
Use it as a general searching nymph when you want a natural, textured profile. Match the size and fishing depth to what you see in the water. The loose guard hairs move around the body; the unweighted recipe can also be adapted with a bead when a faster sink is needed.
Find your Hare’s Ear.
These tyers list flies based on this pattern. Check each listing for its exact materials, weight, and variations.
 Nymphs
Need a different size, color or dressing? Send a tyer a brief with this pattern as the starting point.
Request a custom versionNames and colors in the source index
Flys and Guides ↗ uses these labels for this fly. The recipe above describes the stated version; change materials where a colorway calls for it.
- Bead Head Rubber Leg Hare’s Ear
- Hare’s Ear – Olive
- Flashback Hare’s Ear
- Rubberlegs Hare’s Ear
Recipe references
Materials and tying methods may vary between versions. Compare the sources below for this dressing.
- FFI / Jerry Coviello — Gold Ribbed Hare’s Ear Nymph
- Charlie Craven — Tying the Hare’s-Ear Nymph
- FFI Bronze Award — Proportion Criteria
Portrait reference
Pattern dressings vary; use the written recipe for exact materials and proportions.